
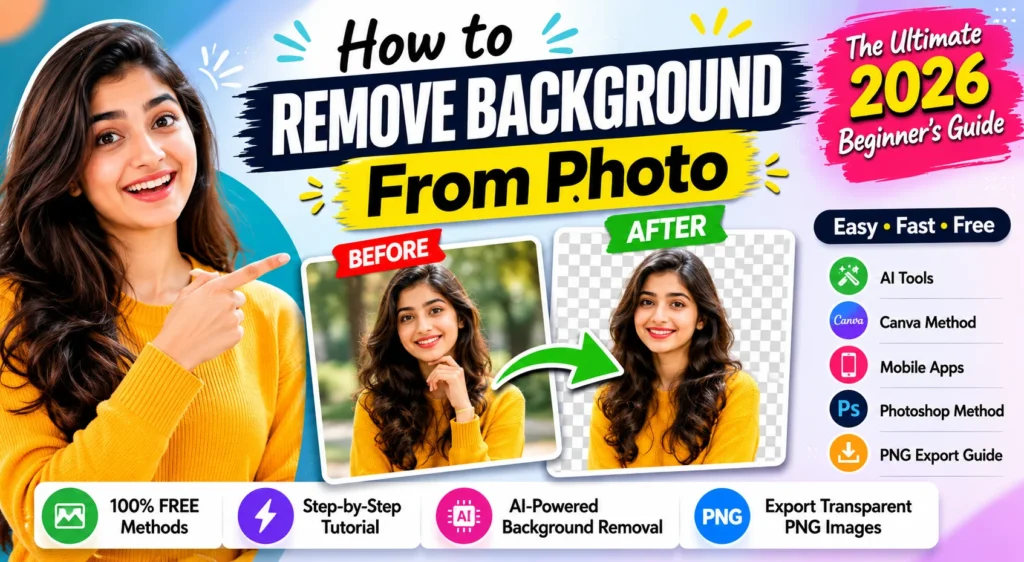
How to Remove Background from Photo: The Ultimate 2026 Beginner’s Guide
We’ve all been there. You snap a photo that captures your mood perfectly—the lighting is great, your smile is genuine—but there’s a laundry basket or a distracting street sign lurking behind you.
Five years ago, you’d have to pay a graphic designer or spend an entire afternoon wrestling with complex software to fix that.
Today? Things are different. With the rise of AI, removing a background from a photo has shifted from a “pro-level” chore to a three-second task. Whether you’re a YouTube creator building a clickable thumbnail, a Meesho seller preparing product shots, or just a student trying to make your slides look professional, this guide is your shortcut to clean, professional imagery.
Let’s turn those messy shots into professional-grade content.
How to Remove Background from Photo: The Ultimate 2026 Beginner’s Guide
Why Everyone Is Obsessed with “Cutouts” in 2026
You’ve seen them everywhere: crisp, cutout portraits floating over colorful, vibrant backgrounds. They’re a staple for top-tier creators on YouTube and Instagram.
But it’s not just about aesthetics; it’s about clarity. When you remove the background, you’re stripping away the noise. You’re telling your viewer exactly what to focus on.
Whether you’re:
- The Content Creator: Making those “pop-out” YouTube thumbnails that get people to click.
- The E-commerce Seller: Showing off your product without the clutter of a messy bedroom shelf.
- The Social Media Enthusiast: Creating custom stickers for your Reels or stories.
A transparent image is the most versatile tool in your digital kit. Once you go transparent, you’ll never want to go back to static, clunky JPEGs.
Expert Insight: Think of a background-free photo like a “digital sticker.” Once you have it, you can drop it into any design app—like Canva—and place it over any scene you can imagine.
Before We Start: The PNG Secret
If you take only one thing away from this guide, let it be this: Save as a PNG.
If you save a cutout image as a JPEG, your computer will automatically fill that empty, transparent space with a solid white box. It defeats the whole purpose. PNG (Portable Network Graphics) is the file format that tells your computer, “Hey, this empty space is actually invisible.”
How to Remove Background from Photo: The “Big Three” Methods
1. The AI Web Tool (The Fastest Way)
This is what 90% of creators use. You upload your photo, AI scans for your subject, and it cuts the rest out for you.
- Pros: Instant, zero learning curve, works on any browser.
- Cons: Some tools limit how high the resolution can be on free plans.
2. Canva (The “Everything” Way)
If you’re already designing your YouTube thumbnails or Instagram posts in Canva, this is where you should stay.
- Pros: Seamless workflow. Remove, resize, and add text in one app.
- Cons: The “one-click” remover is usually locked behind a Pro subscription.
3. Native Phone Features (The “No-App” Way)
If you’re on an iPhone (iOS 16+) or a newer Android, you might not even need an app. You can often long-press your subject in your gallery, and the phone will magically cut it out for you to copy and paste.
Step-by-Step: Removing Your Background Like a Pro
Regardless of which AI tool you pick, the process is almost identical. Here is your fail-safe workflow:
- The Upload: Navigate to your chosen site (like Remove.bg or Adobe Express) and click the “Upload” button.
- The Wait: Watch the AI analyze your photo. This is the “Aha!” moment where the background vanishes.
- The Touch-Up: If the AI accidentally cut off a bit of your hair or background junk remained, look for the “Erase/Restore” brush. Use this to fix minor details.
- The Export: Click Download. Double-check that it’s downloading as a PNG.
Pro Tip: If your shirt color is very similar to the wall behind you, the AI might get confused. For your next photo session, try to stand in front of a contrasting color—it makes the AI’s job 100% easier.
Remove Background from Photo: Top Tools Recommended for 2026
| Tool | Best For | Why We Love It |
| Remove.bg | Quick cutouts | The gold standard for speed and hair detail. |
| Adobe Express | High quality | Powered by Photoshop tech; free and very accurate. |
| PhotoRoom | E-commerce | The best “Batch Edit” feature for multiple product shots. |
| Canva | Designing content | Best for creators who want to add shadows and text after. |
Troubleshooting: Why Is My Edit Looking “Fake”?
We’ve all seen those bad edits where the subject looks like they’re hovering in mid-air. Here’s how to fix it:
- The Halo Effect: If you see a weird white border around your head, use the “Eraser” tool at a very low brush size to clean it up.
- Missing Shadows: A photo without a shadow looks “flat.” If you’re using Canva, look for the “Shadows” or “Glow” tool. Adding a subtle drop-shadow makes your cutout look like it actually belongs in the new scene.
- The Grainy Look: If your original photo was taken in a dark room, the cutout will look pixelated. Lighting is everything. Always face a window when you take your photo.
Frequently Asked Questions (FAQ)
Q: Can I remove a background from a video?
A: Yes, but it requires different tech. Check out tools like Unscreen or the background removal features in video editors like CapCut.
Q: Do I need to be a designer to get good results?
A: Absolutely not! The AI in 2026 is smarter than most human assistants were a decade ago. It does the heavy lifting; you just do the final polish.
Q: Why is my background turning black when I download it?
A: This is usually just your phone gallery’s way of displaying transparency. It’s actually still transparent! Try uploading it to an app like Instagram or Canva, and you’ll see it correctly.
Final Thoughts: Stop Overthinking, Start Creating
Editing shouldn’t feel like work. With the tools we’ve listed, you have the power to create professional imagery in less time than it takes to make a cup of chai.
Don’t wait until you have a “perfect” photo—grab a random shot from your gallery right now, head over to an AI remover, and turn it into a transparent PNG. You’ll be surprised at how much it changes your content game.
What’s your first project going to be? A YouTube thumbnail, a product post, or just a cool profile pic? Let us know in the comments, and don’t forget to bookmark this page the next time you’re stuck in an edit!